Device Management
Assigning device to a building
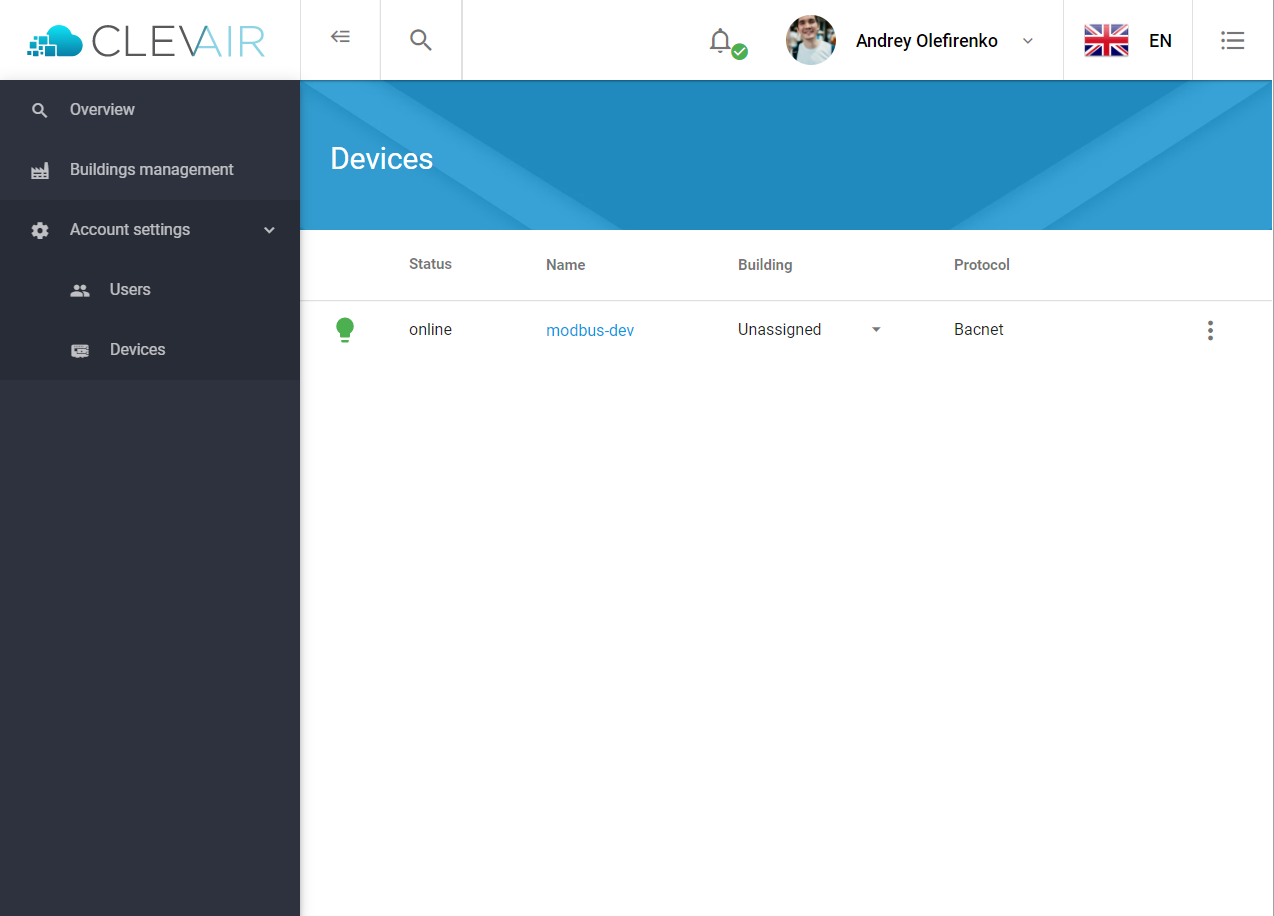
Go to Account Settings → Devices to see all the devices that have been associated with your account. The device should have Online status.
At this point, you need to have a building configured. If you don't have a building yet, jump to the Create/Register a new building section.
To assign a device to a building, use the dropdown under the Building section and select one of your configured buildings.
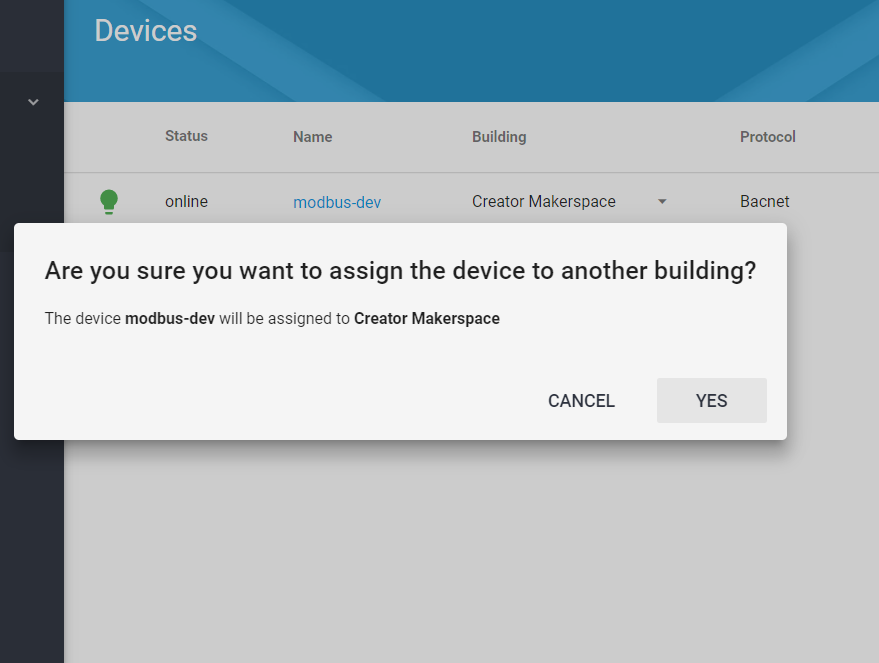
The system will ask you to confirm the choice. Click YES.
After confirming the choice, the device will reboot to correctly configure for the building. This will usually take 1 to 2 minutes. During this time the device will appear as Offline in the list. Once the reboot is complete, the status will be Online again.
Configuring a device protocol
Before the device configuration is complete, it has to be configured specifically for the HVAC system it has been connected to. We support systems based on the BACnet and Modbus protocol. Please go to the appropriate section to set it up.
To configure a device, select Account Settings → Devices and select the device you want to configure.
BACnet
Installations using the BACnet protocol can use the BACnet discovery service provided with our product.
Discovering
From the drop-down menu select BACnet from the Choose a protocol. The DISCOVER SERVICE button should appear, click to start the discovery process.
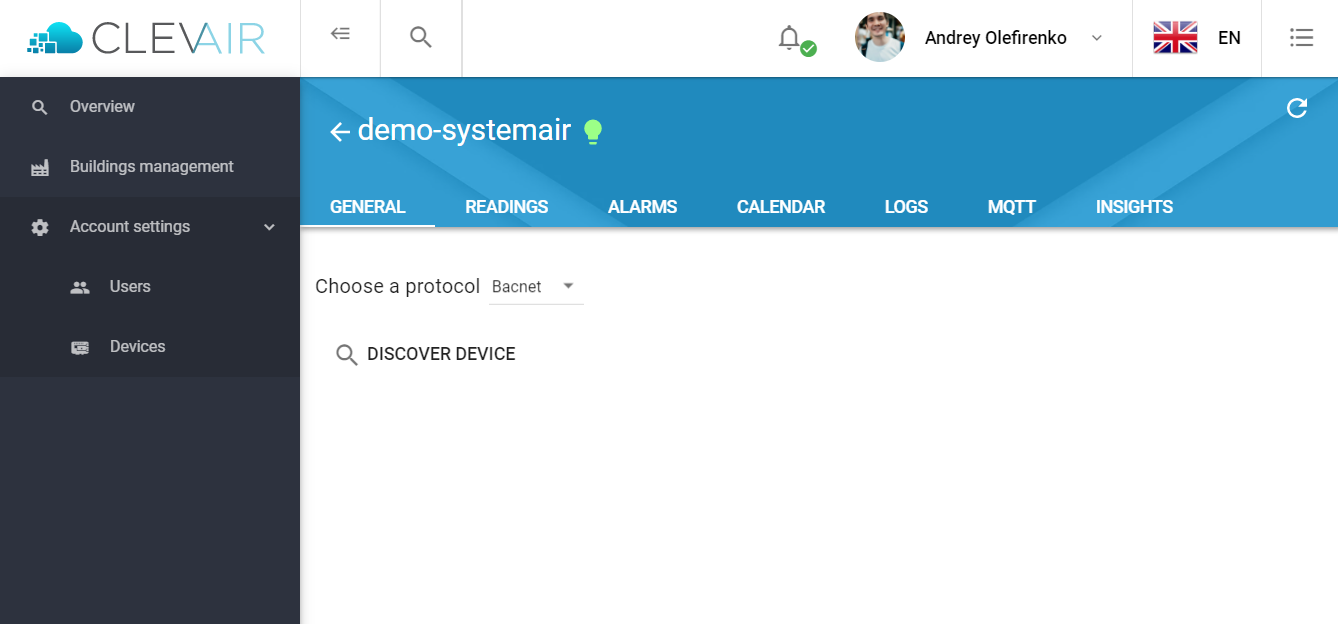
After clicking the DISCOVER DEVICE button, the discovery process can take up to 30 sec to complete.
Note: If an error occurs during this process a timeout error will be shown. Please ensure a device connected properly and has an internet access.
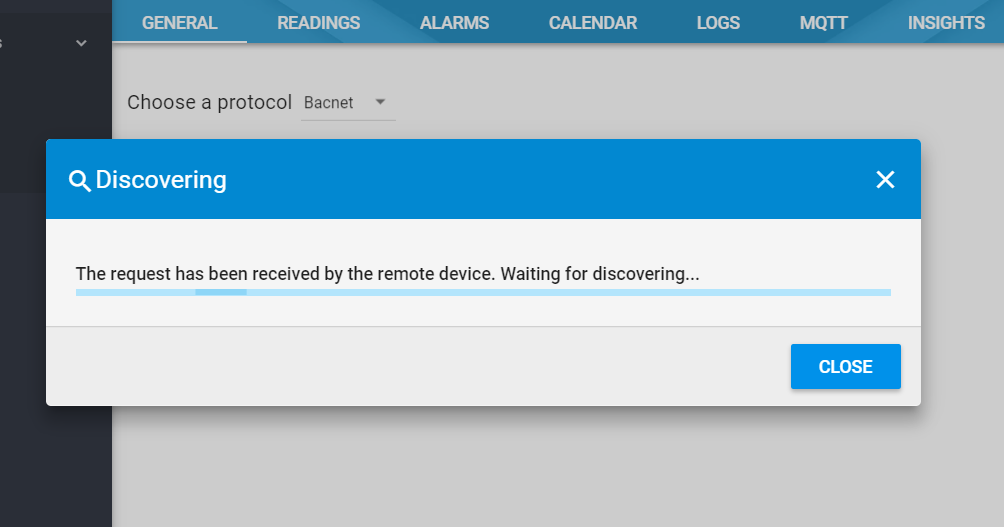
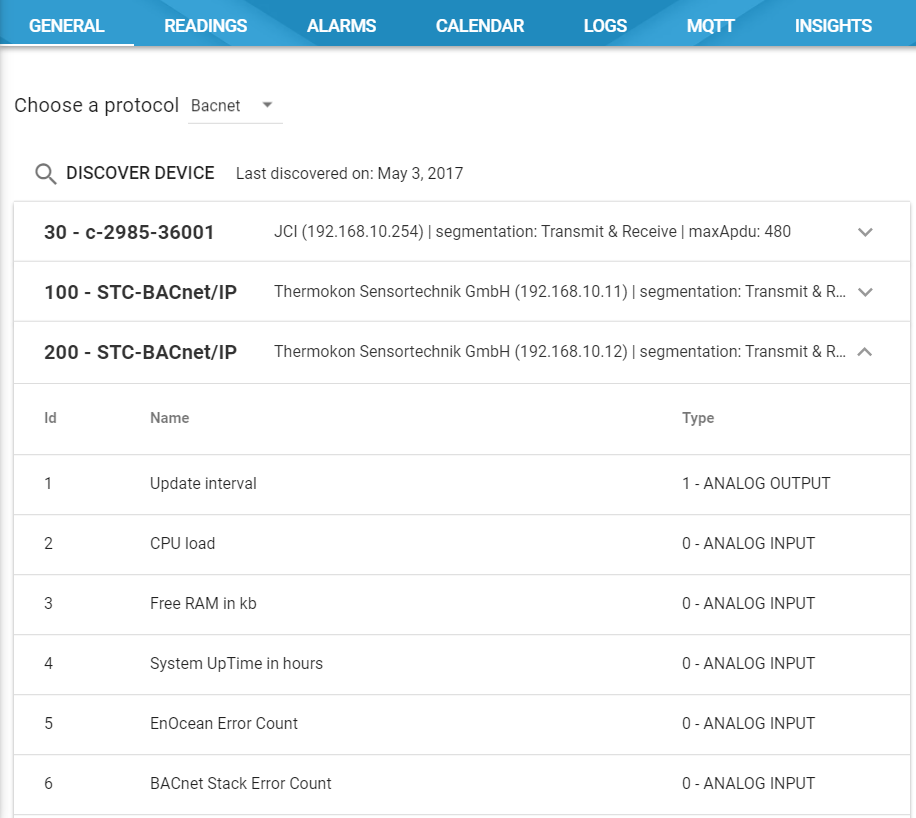
When the process is completed successfully, all connected BACnet devices can be explored. Each detected device is represented as an expansion panel.
Mapping table
Select the system you want to monitor, and select the READINGS tab.
From this tab, you can select the field you want to subscribe to and select the interval (sec) you wish to subscribe.
Clicking the ADD MAPPING button will bring up a dialog where you can adding protocol mappings.
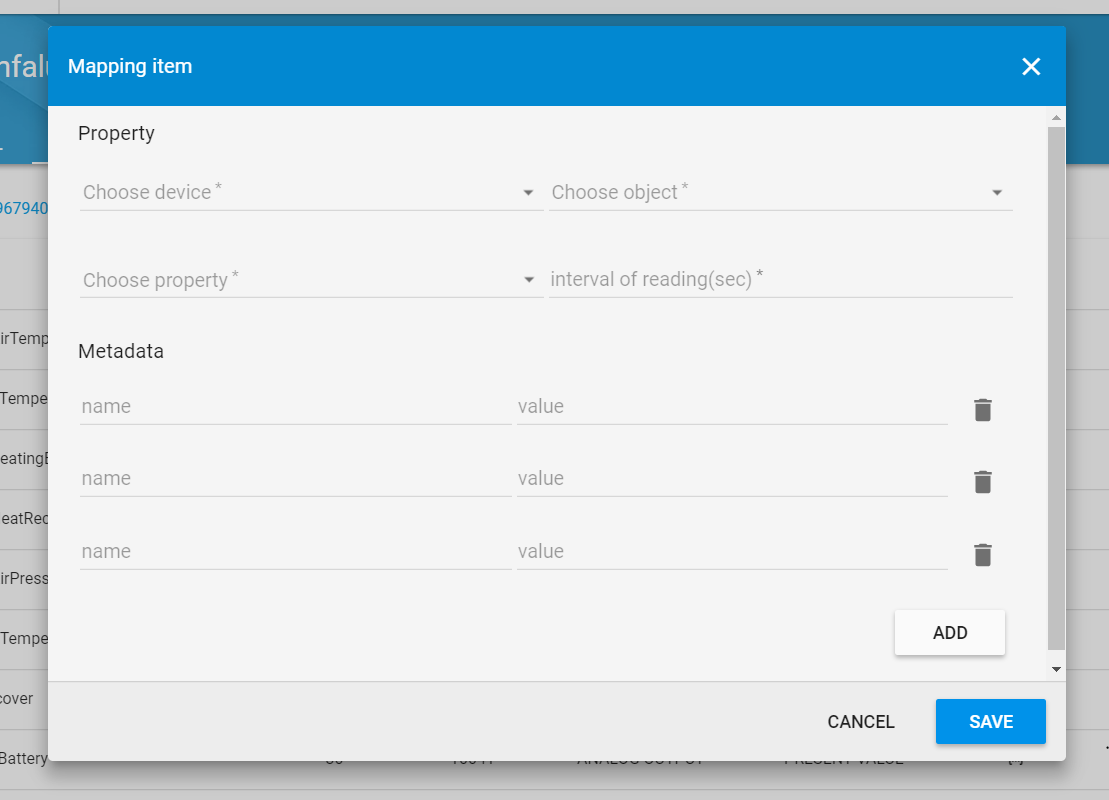
Choose a device, an object and then one of the available properties to read. Interval of reading can be any integer. Also, each mapping can be enriched with any metadata that describes what the measurement is.
Once a mapping table is completed it can be sent to a device by clicking the SEND TO DEVICE button. Each time a mapping table is sent, it creates a new revision of the mapping file.
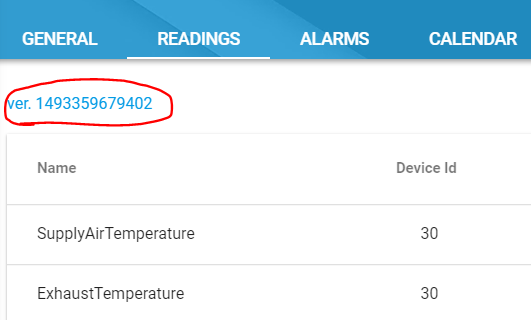
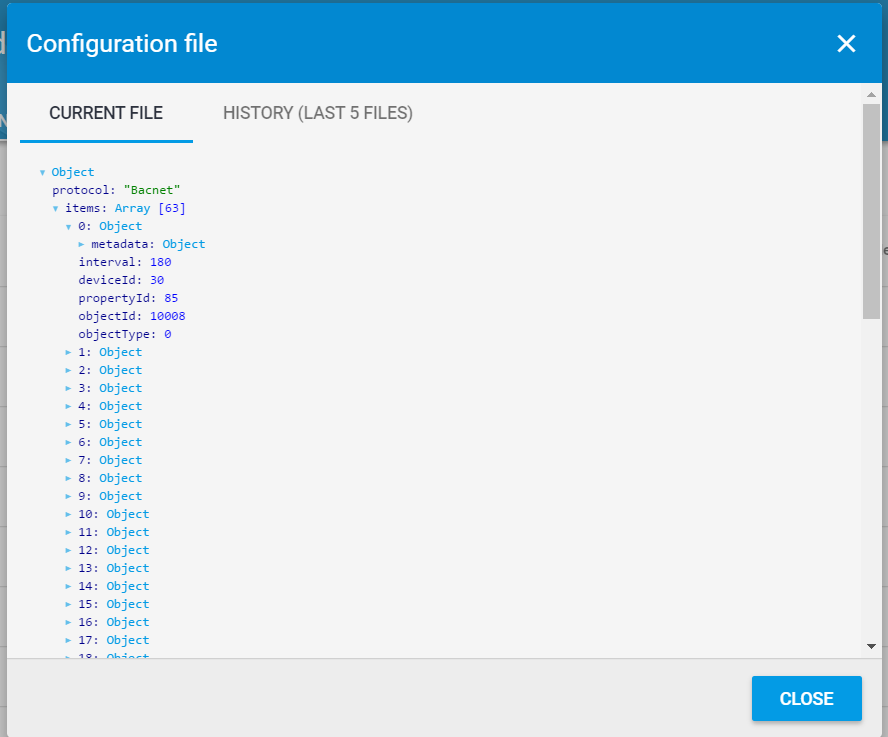
It's possible to see all revisions that were sent to a device. Just click on the version link.
Alarms
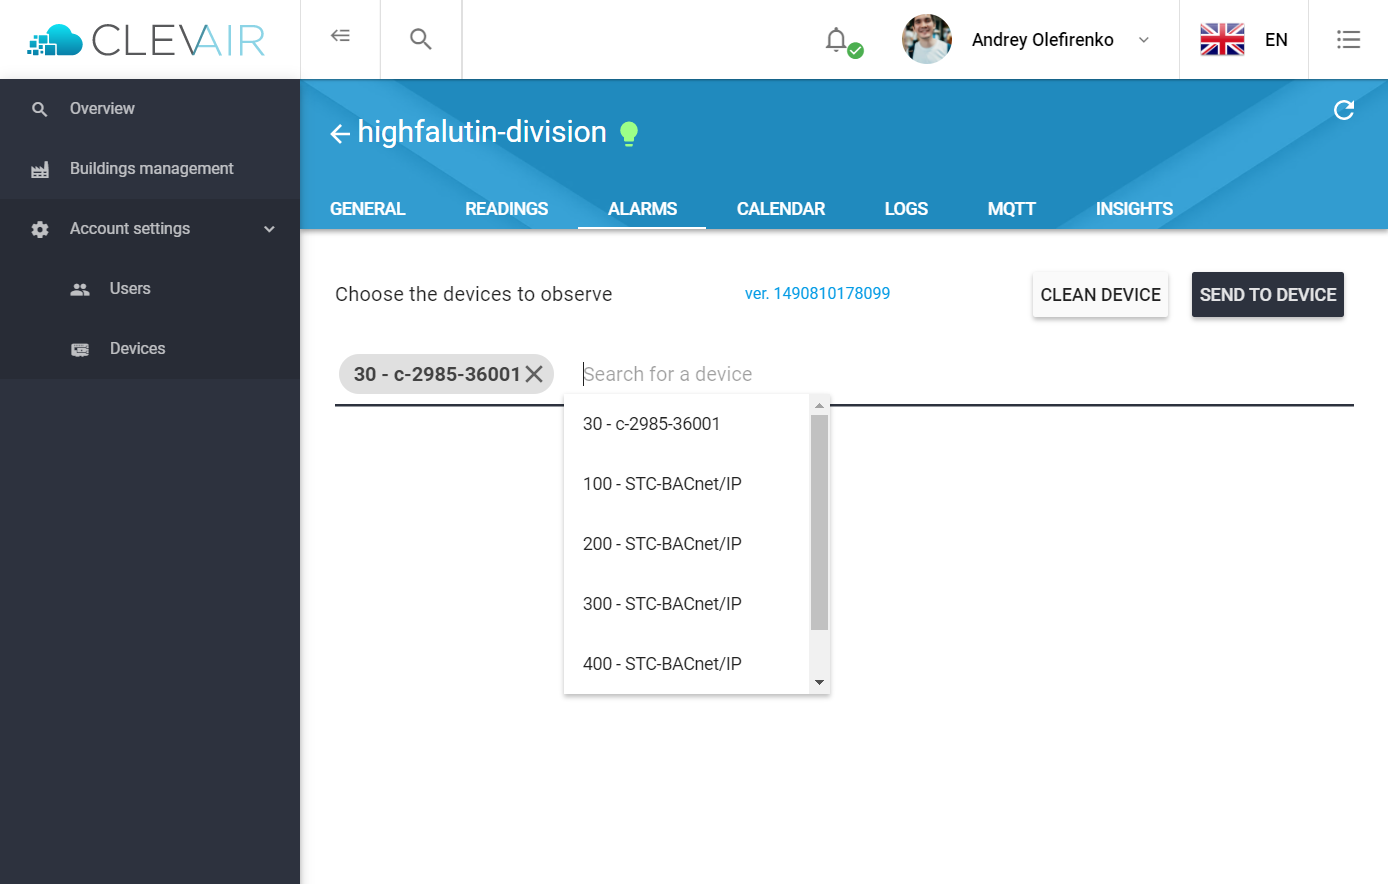
ClevAir leverages native BACnet alarms to notify about emergency situations. All you need is to specify BACnet devices to listen.
Calendar
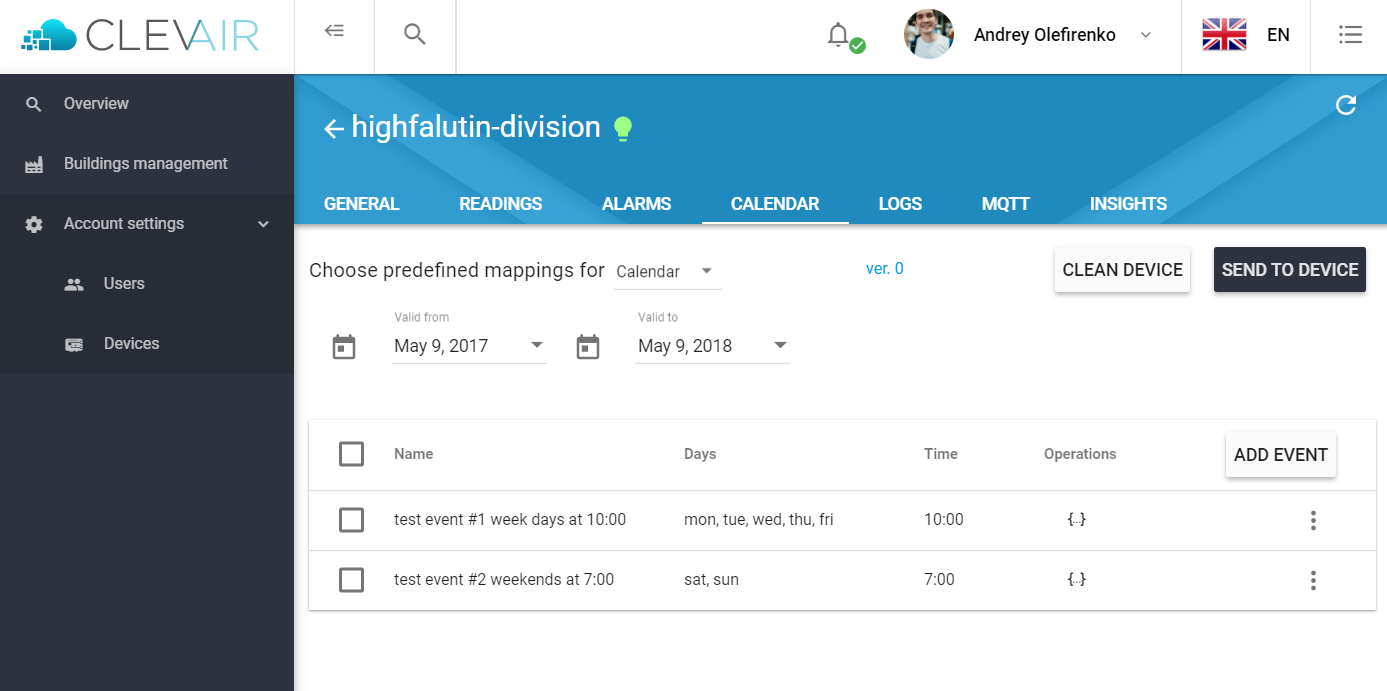
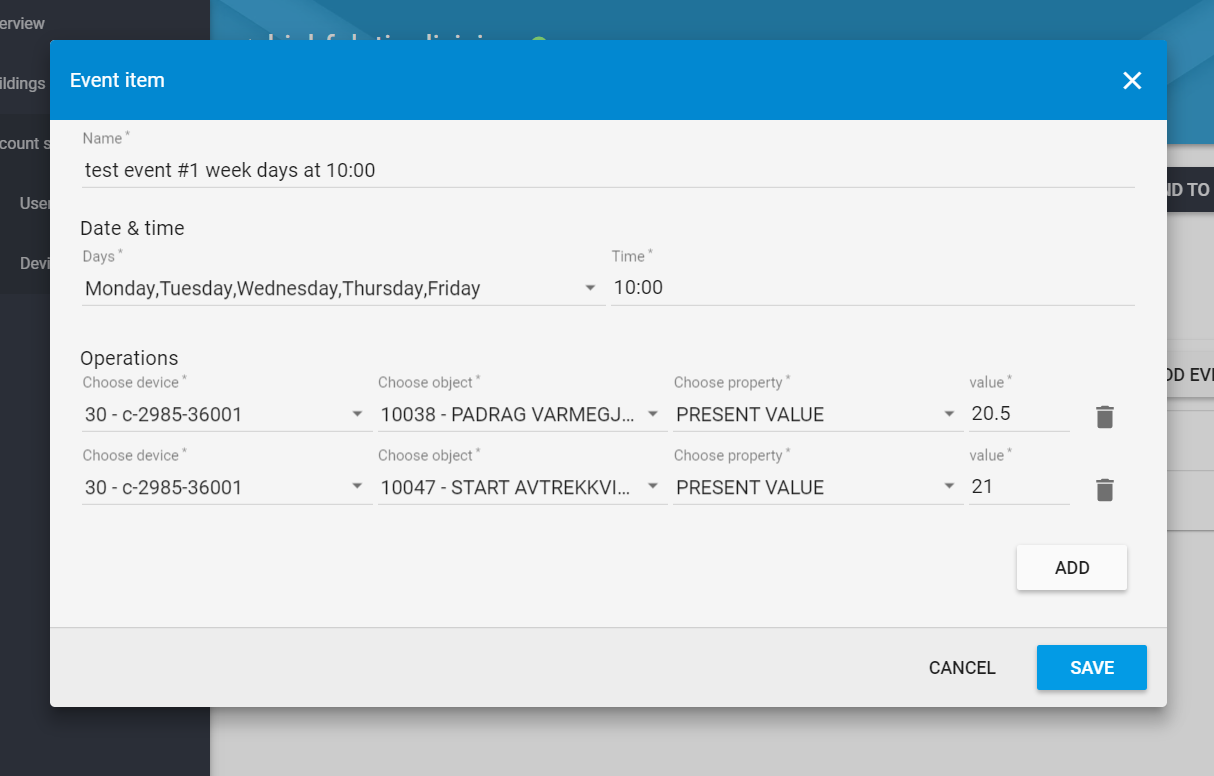
On this screen, it's possible to schedule any weekly events. Each event aggregates all operations performing at the time of triggering.
Each operation represents a certain value setting to a ventilation system controller.
For example, there might be two events. One of them turns on the ventilation at morning time, another one turns it off at evening time.
The calendar configuration has an expiration period. All events are triggered only during the specified period.
Modbus
If you have installed the ClevAir device on a Modbus enabled system, please use this section to set up your device.
Connections
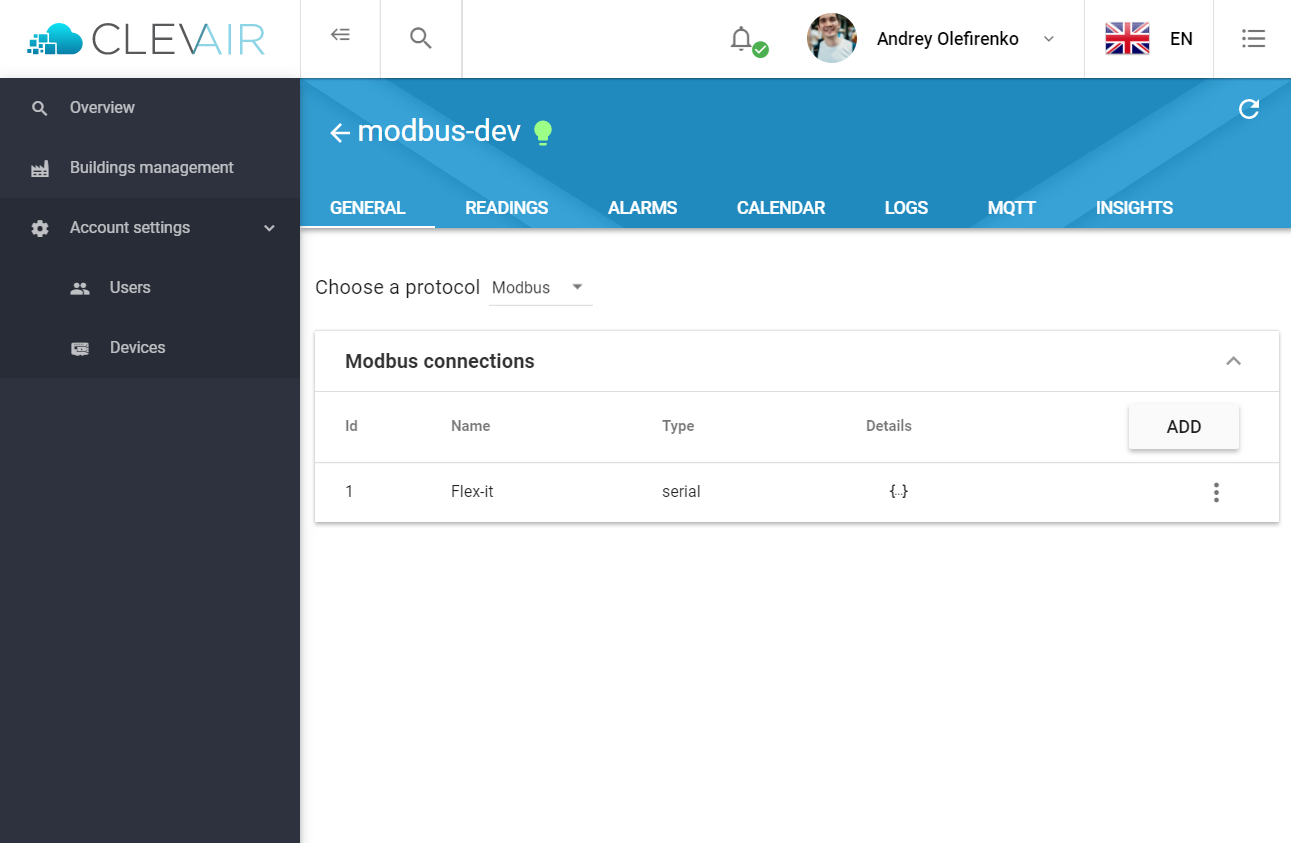
This screen will list any Modbus systems configured. To add a new Modbus system, click on ADD.
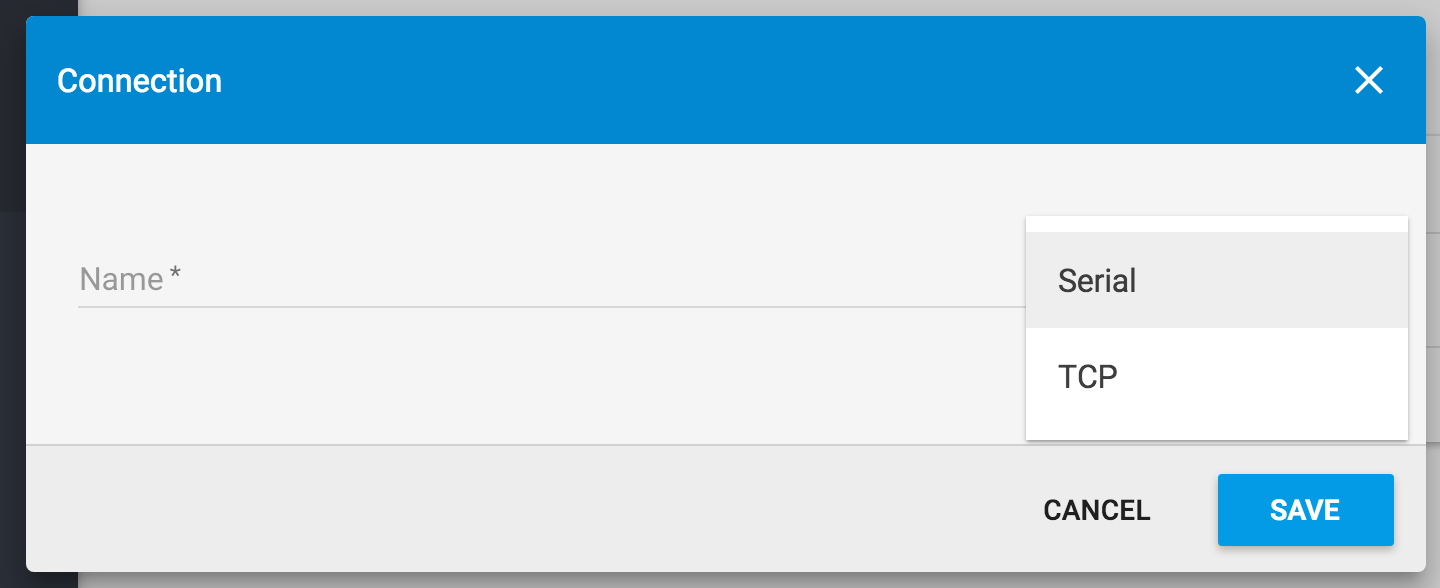
This will bring up the Connection screen where you can specify a name and protocol.
Mapping table
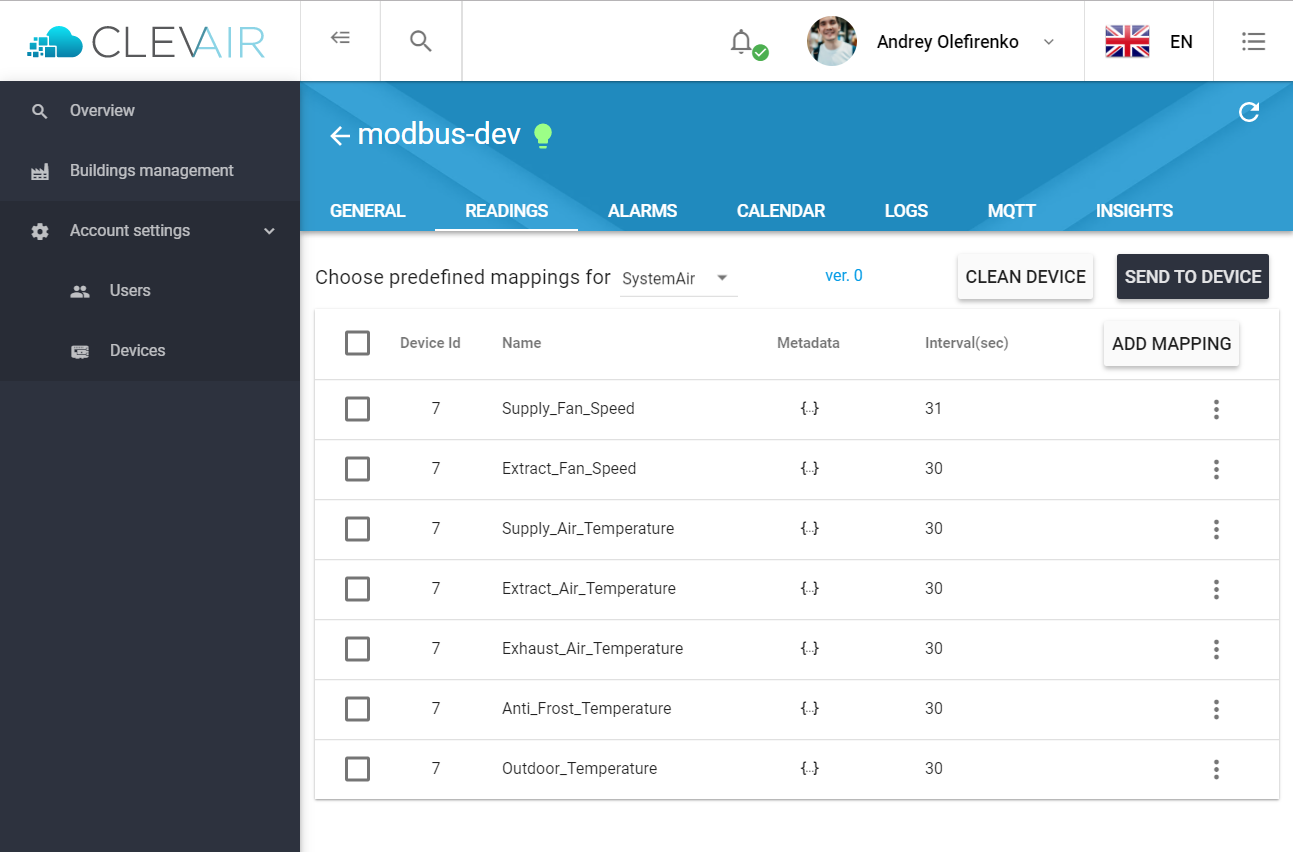
The Modbus systems have predefined protocol definitions for the systems we support. From the Choose predefined mappings dropdown choose the systems your managing. If your systems are not supported please contact support@clevair.io to allow us to add it.
Next step is to select the data types you want to monitor. Once you have completed, click SEND TO DEVICE to update the device with the new definition.
Add mapping
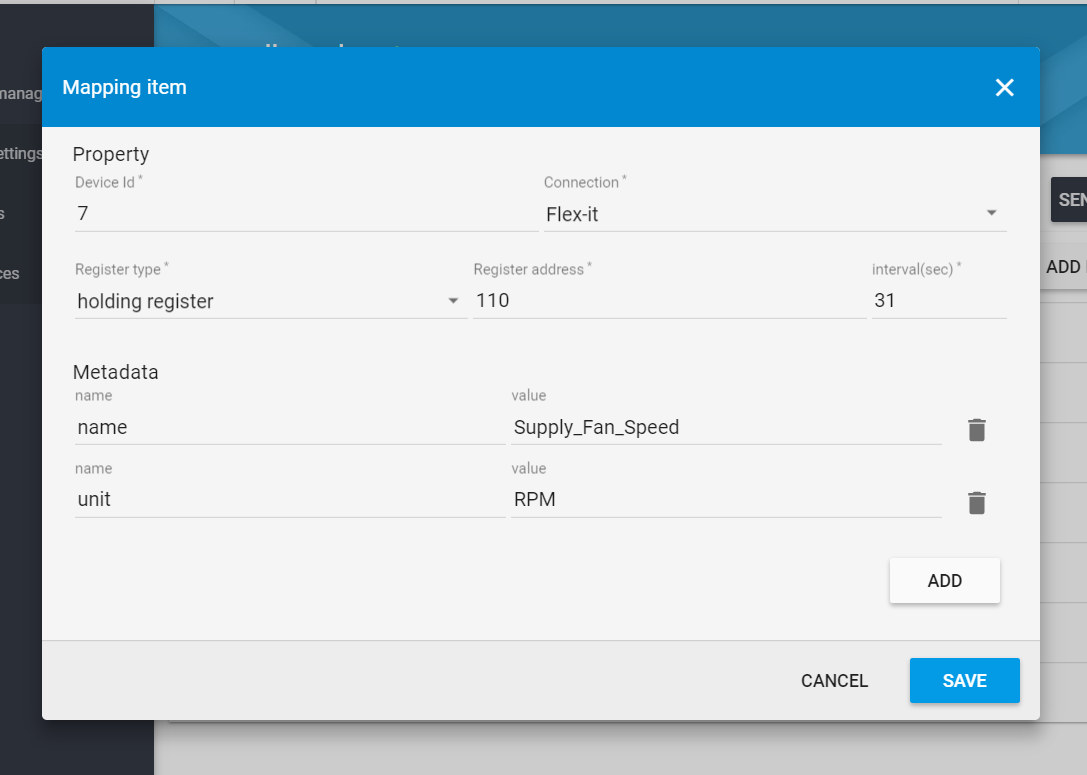
In case there is a Modbus/BACnet network consisting of multiple devices (and not one, single ventilation system), it's not enough to just assign a predefined mapping table. In this case, you will need to extend a mapping table by adding custom readings manually
Alarms
The ClevAir system allows you to subscribe to alarms raised in the connected system. Select the ALARMS tab and the connected system from the Choose predefined mappings for the drop-down menu. Select all relevant alarms from the predefined list of alarms and click SEND TO DEVICE to activate.
Once submitted, the device will restart and be online again with the new configuration after 1-2 minutes.
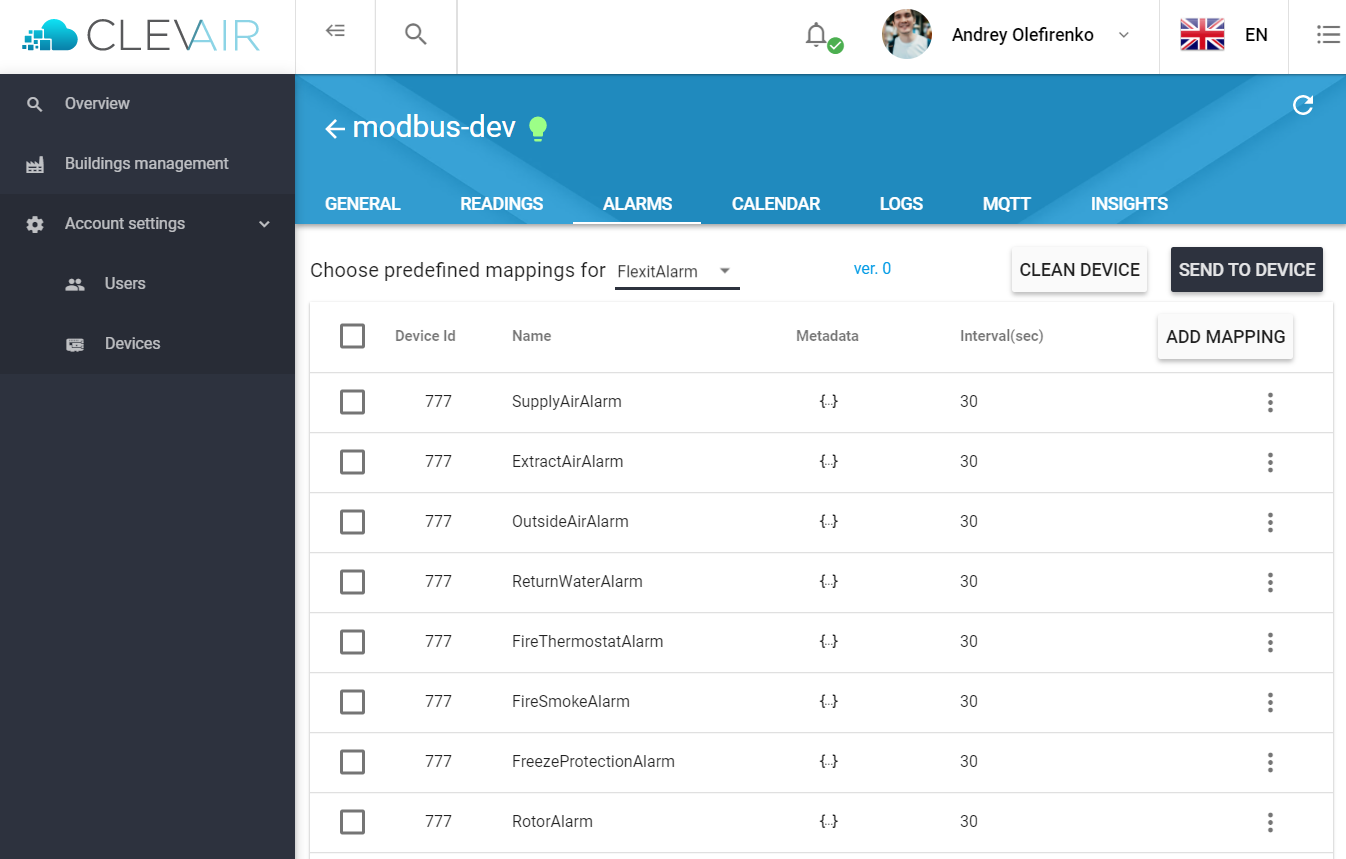
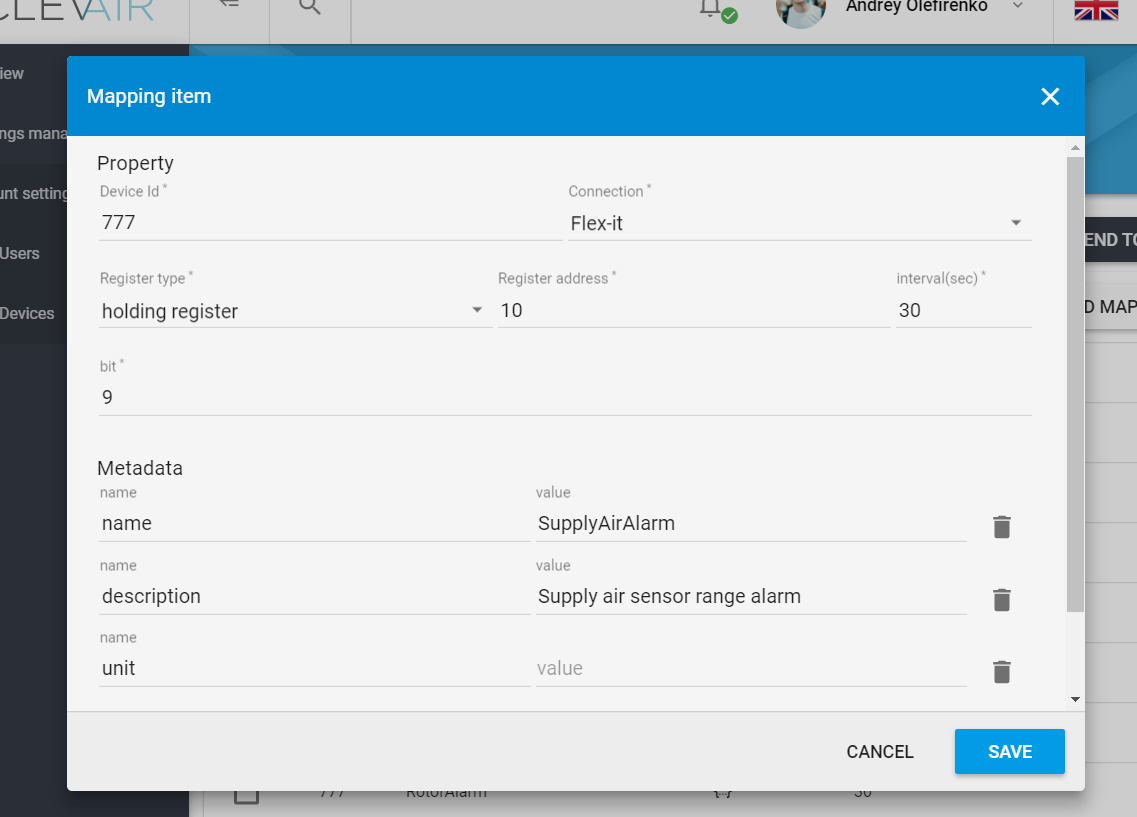
Adding alarms manually.
In case there is a Modbus/BACnet network consisting of multiple devices (and not one, single ventilation system), it's not enough to just assign a predefined alarm. In that case, you need to extend the list of alarms by adding custom alarms manually
Calendar
The ClevAir calendar feature allows you to control the HVAC system with calendar events.
On this screen, it is possible to schedule any weekly events. Each event aggregates any number of operations performing at the time of triggering.
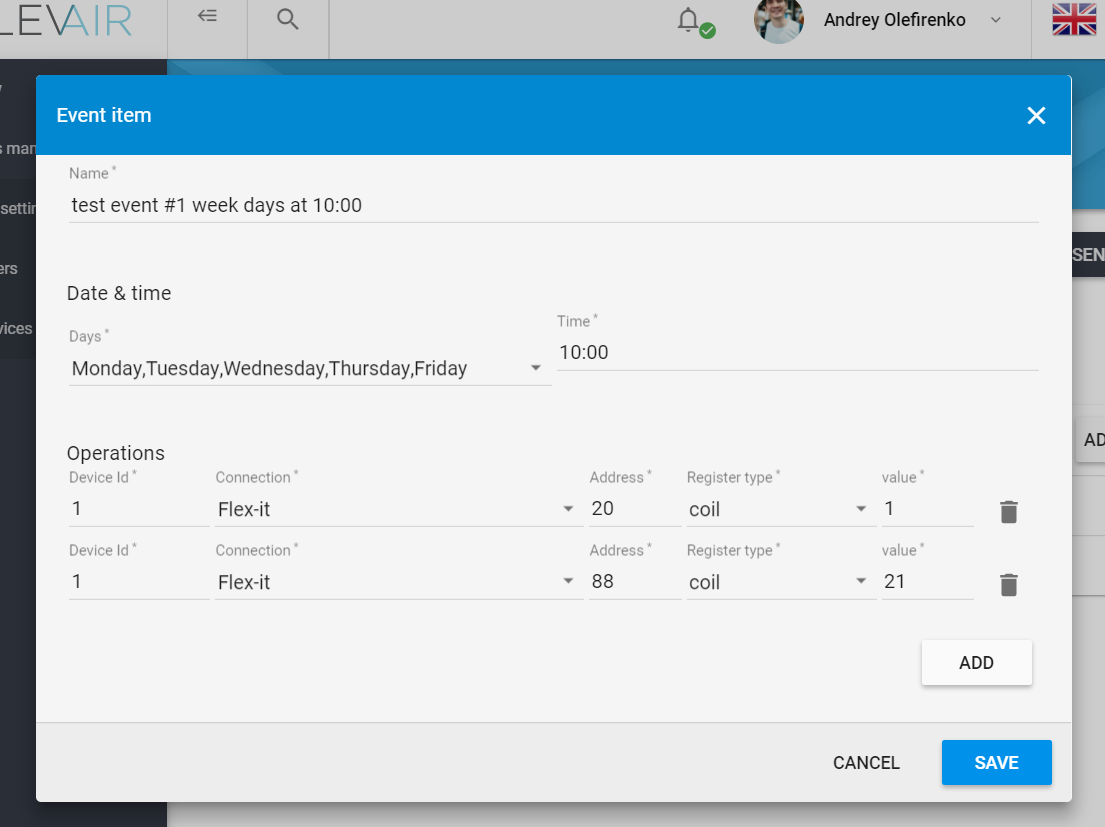
Each operation represents a certain value setting to a ventilation system controller.
For example, there might be two events. One of them turns on the ventilation at morning, another one turns off at evening.
The calendar configuration has an expiration period. All events are triggered only during the specified period.
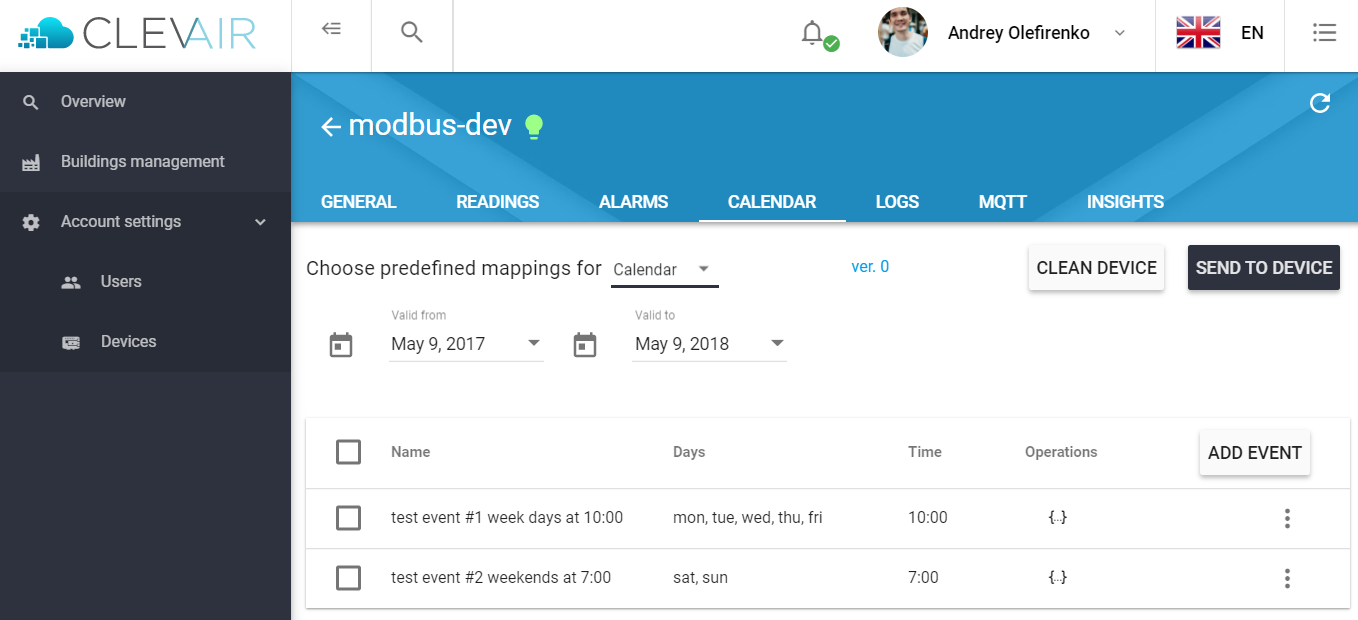
To add a new calendar event, click the ADD EVENT button and fill in the required fields.
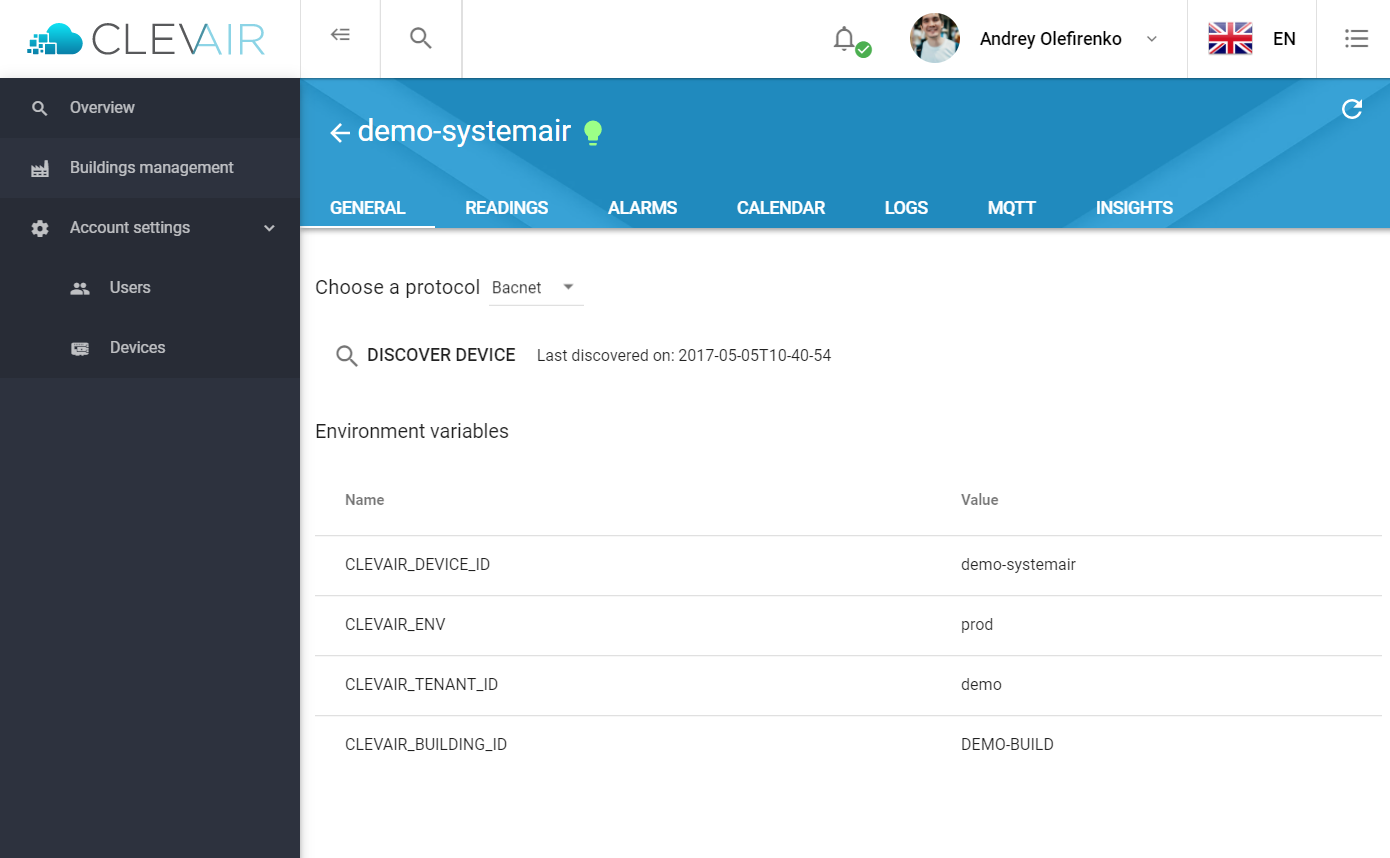
Environment variables
In the GENERAL tab, it's possible to view the environment variables that have been set for a device. This is mainly used for debugging and verification purposes.